
Broken Bones: Workplace First Aid for Suspected Fractures and Splinting
Know how to recognize a fracture, immobilize safely, and decide when to call 911. Build confidence with Work Readiness Center—schedule your class today!
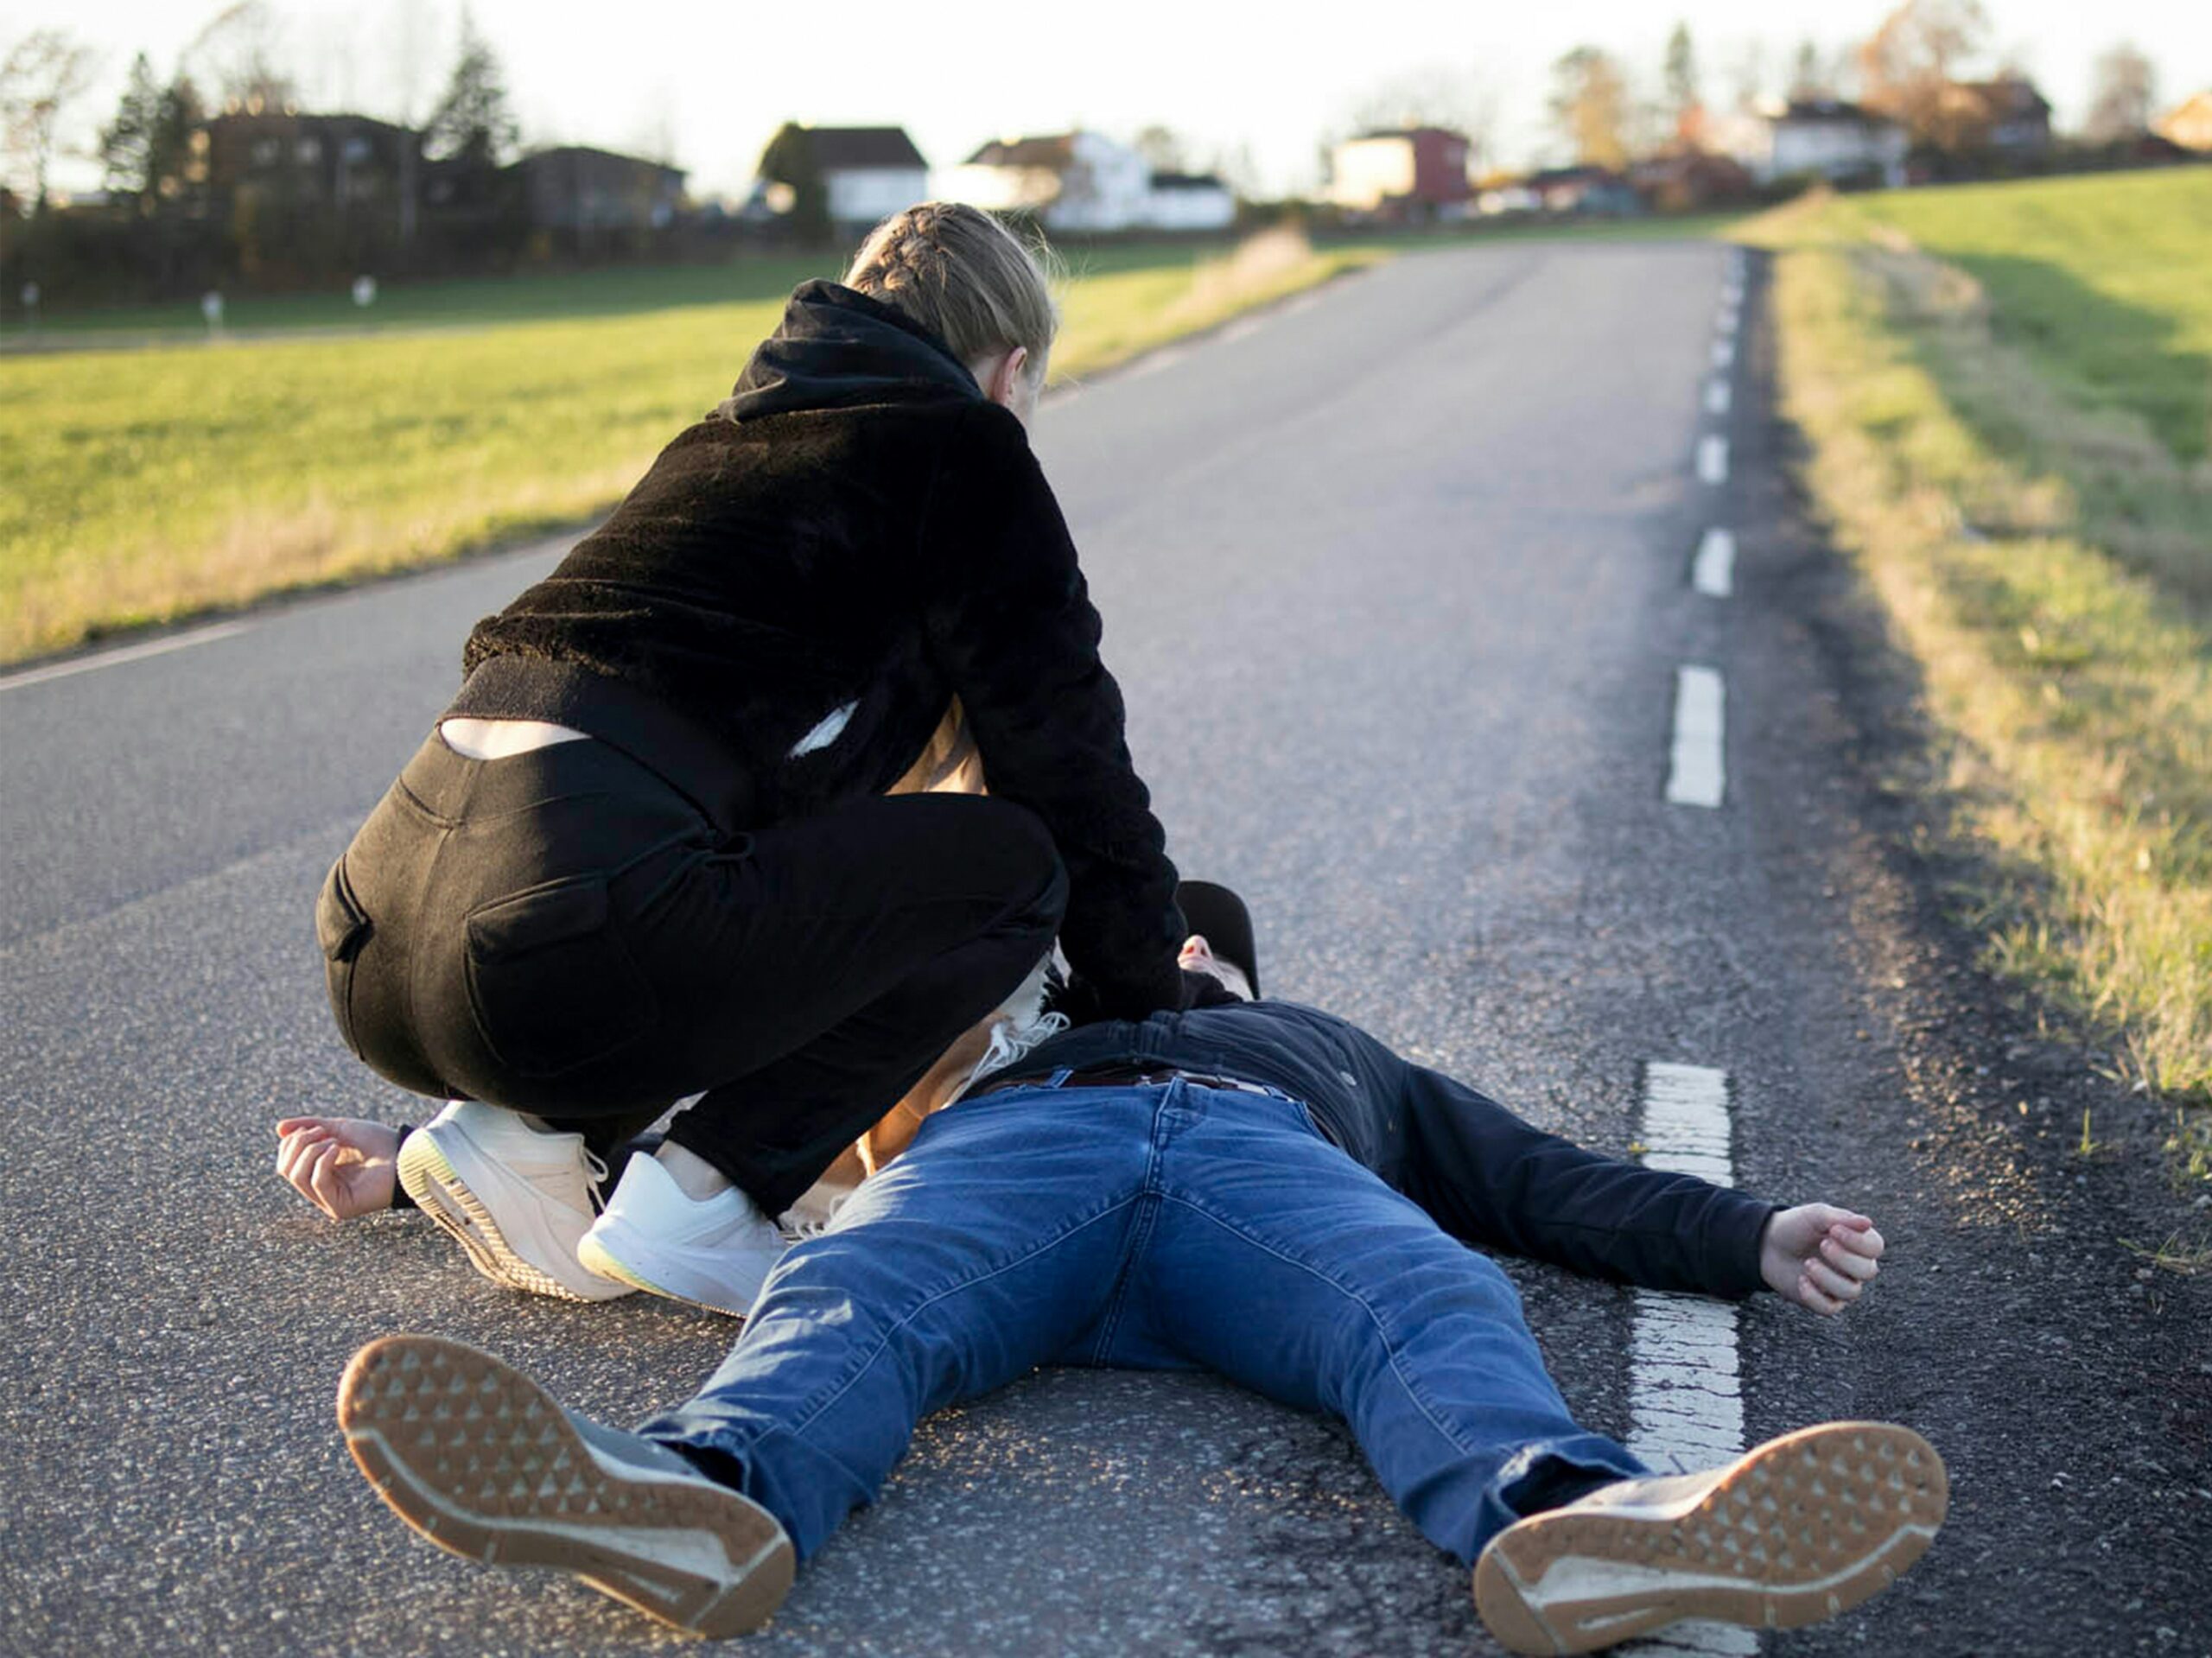
Broken Bones: Your Complete First Aid Guide for Suspected Fractures
Fractures can happen on the job or at home—from slips on stairs to crush injuries with tools. Acting quickly and correctly helps prevent further damage to bone, blood vessels, and nerves while you wait for medical care. The goal is to recognize the signs, immobilize the injury, check circulation and sensation, and position the person for comfort without causing movement at the break.
At Work Readiness Center, an Official American Heart Association (AHA) Training Center serving Cumming, GA and the greater Atlanta metro area, our first aid courses teach practical fracture management. You’ll learn how to distinguish a suspected fracture from a sprain, when to call emergency services, how to apply commercial or improvised splints, and how to perform CSM (circulation, sensation, movement) checks before and after immobilization.
Understanding Fractures: Types and Causes
Knowing how a bone was injured helps you anticipate complications and choose safe first aid steps.
Closed Fractures
In a closed fracture, the skin remains intact over the broken bone. Common workplace causes include falls from standing height, missteps off ladders, and awkward landings that twist an arm or leg.
- Visible deformity or unusual angle at a limb
- Swelling and bruising developing quickly
- Severe pain with movement or weight bearing
- Possible crepitus (a grinding sensation) with gentle stabilization
Open Fractures
An open (compound) fracture occurs when bone fragments puncture the skin or a wound exposes the break to the outside. These injuries carry a high infection risk and often bleed.
Other Common Patterns
Stress, greenstick (in children), comminuted (shattered), and impacted fractures arise from repetitive strain, bending forces, crush, or high-energy impacts. Mechanism of injury guides how you immobilize and when you must call 911.
Typical Workplace Mechanisms
Slips and trips, dropping heavy objects on hands or feet, machinery entanglement, and vehicle incidents are frequent causes. Always consider head injuries and shock when the mechanism involves significant force and seek advanced care as needed.
Fracture Recognition: Signs of Breaks vs. Sprains
Accurate recognition helps you immobilize properly and avoid worsening the injury.
Suspected Fracture: Key Indicators
Fractures often present with:
- Deformity, shortening, or an unusual bend/rotation
- Point tenderness directly over bone
- Crepitus or pain with even slight movement
- Rapid swelling and bruising
Examples: Visible angulation after a fall, inability to bear weight, severe pain with minimal motion.
Sprain Indicators
Sprains involve stretched or torn ligaments around a joint. Signs include:
- Pain and swelling centered at a joint rather than along a bone shaft
- Some preserved range of motion (though painful)
- No obvious deformity
When in doubt: Treat as a fracture. Immobilize, check CSM, apply cold therapy and elevation, and seek medical evaluation—X-rays are often needed to confirm.
Open vs. Closed Fractures
Open fractures have a skin break with bone exposure or a deep wound over the break and require urgent 911 activation due to bleeding and infection risk. Closed fractures have no skin break but still need careful immobilization and assessment for nerve or vessel compromise.
Step-by-Step First Aid for Suspected Broken Bones
Follow a calm sequence: ensure scene safety, stabilize the injury, protect circulation and nerves, and arrange prompt medical care.
Step 1: Stop Movement and Assess
Have the person stay still and support the injured area in the position found.
- Major limb injuries: Do not straighten a deformed limb. Gently support with hands or soft padding while preparing a splint.
- Open fractures: Control visible bleeding with direct pressure around the wound and cover with a sterile dressing; avoid pushing exposed bone back in.
- High-energy incidents: If there are signs of head injuries or shock, prioritize calling 911 and monitor breathing.
- Scene safety: Remove hazards and avoid moving the person unless necessary for safety.
Step 2: Immobilize with a Splint
Immobilization limits motion at the fracture and reduces pain and further damage.
- Check CSM (circulation, sensation, movement) beyond the injury before splinting—feel for a pulse, assess color/warmth, ask about numbness/tingling, and have them wiggle fingers or toes.
- Choose a splint—commercial rigid or SAM-type splints are ideal; improvised options include padded boards, magazines, or rolled blankets.
- Immobilize the joint above and below the suspected fracture. Pad all voids to prevent pressure points.
- Secure with cravats, tape, or elastic wraps snugly but not tight; recheck CSM immediately after securing.
- Do not attempt realignment unless there is no pulse and you are trained under local protocols.
Important: For suspected hip, pelvis, or spine injuries, do not move the person—call 911 and stabilize the head and neck if trauma is suspected.
Step 3: Cold Therapy and Elevation
Reduce swelling and pain without impairing circulation.
- Apply a cold pack wrapped in cloth to the area for up to 20 minutes on, then off, as tolerated.
- Elevate the injured limb above heart level if it does not increase pain and is safely splinted.
- Never place ice directly on skin and avoid prolonged cooling in cases of decreased sensation.
- Monitor swelling under the splint and loosen wraps slightly if CSM diminishes.
Step 4: Pain Minimization and Positioning
Support comfort while protecting the fracture.
- Use a sling and swathe for arm or collarbone injuries to keep the limb close to the body.
- For lower limb fractures, keep the leg straight in the position found with padding along both sides.
- Provide reassurance and limit movement; consider over-the-counter pain relievers if the person has no contraindications and is fully alert.
- Maintain warmth with a blanket to help prevent shock.
Step 5: Decide on Emergency Care
- Call 911 immediately for open fractures, severe deformity, absent pulse, blue/cold extremity, suspected hip/pelvis/spine fracture, multiple injuries, or if the person cannot be safely transported.
- Seek urgent evaluation for any suspected fracture, especially in children, older adults, or if pain, swelling, or loss of function is significant.
- Continue to monitor CSM every 10–15 minutes until care is transferred.
When to Seek Emergency Medical Care for Broken Bones
Not every suspected fracture can be managed on site. Seek immediate medical attention or call 911 if you suspect a serious injury:
The Fracture Appears Severe
- Open fractures (bone visible or protruding through the skin; bleeding and high infection risk)
- Obvious deformity, crepitus, or bone angulation (limb looks misshapen, shortened, or rotated)
- Severe pain, loss of function, or inability to bear weight (especially with suspected hip, femur, or ankle fractures)
The Injury Involves a Critical Area
- Head, face, spine, pelvis, ribs, or major joints (shoulder, elbow, hip, knee, ankle)
- Neck or back pain after trauma (possible spinal involvement—do not move the person unless necessary)
The Injury Is from a High-Risk Mechanism
- High-energy impact (falls from height, vehicle collisions, crush injuries)
- Twisting injuries with an audible snap or pop
- Direct blows causing immediate swelling, deformity, or loss of function
The Person Is at Higher Risk
- Infants, young children, or older adults (higher risk of growth plate or fragility fractures)
- People with osteoporosis or chronic conditions (steroid use, cancer, diabetes)
- Signs of shock (pale, clammy skin; rapid, weak pulse; confusion; fainting)
- Open wounds with possible contamination (tetanus booster may be needed depending on history)
The Injury Shows Signs of Complications
- Neurovascular compromise (numbness, tingling, inability to move fingers/toes, weak or absent pulse beyond the injury)
- Rapidly increasing swelling or severe pain (concern for compartment syndrome)
- Worsening symptoms after initial immobilization or persistent pain not improving
Special Considerations for Open vs. Closed Fractures
How you manage a suspected broken bone depends on whether the skin is intact.
- Open fracture (skin broken): Control bleeding with gentle direct pressure around the wound, cover with a sterile dressing, and avoid pushing exposed bone back in.
- Do not irrigate deeply or probe the wound; focus on clean, sterile coverage and rapid transport to advanced care.
- Closed fracture (skin intact): Immobilize the limb in the position found and avoid straightening if painful or resisted.
- Check circulation, sensation, and movement (CSM) before and after applying a splint; loosen if circulation worsens.
- Apply cold therapy with a wrapped ice pack and elevate the limb if possible to reduce swelling, without compromising splinting.
- Call emergency services for severe pain, deformity, suspected spinal injury, or any signs of neurovascular compromise.
Workplace Fracture Safety and OSHA Considerations
On the job, fractures can result from slips, falls, struck-by hazards, or repetitive strain leading to stress fractures. To reduce risk and respond effectively, OSHA requires employers to:
- Provide appropriate personal protective equipment (PPE) such as safety footwear, hard hats, gloves, and fall protection
- Maintain safe walking-working surfaces, ladders, scaffolds, and machine guarding to prevent impact injuries
- Train employees on recognizing fracture signs, safe lifting, fall prevention, and first aid for immobilization
- Stock first aid kits with splinting supplies (rigid or SAM-type splints, triangular bandages, elastic wraps, cold packs)
Work Readiness Center’s first aid courses include workplace fracture response and splinting skills aligned with OSHA expectations.
Preventing Broken Bones: Safety Tips
Prevention starts with hazard awareness and strong safety habits. Reduce your fracture risk by:
- Using fall protection and keeping floors dry, well-lit, and free of tripping hazards
- Wearing proper footwear with slip resistance and toe protection
- Following safe lifting and material-handling techniques; use mechanical aids for heavy loads
- Locking out equipment before maintenance to avoid crush injuries
- Conditioning and stretching for physically demanding tasks; rotate duties to prevent overuse
- Ensuring ladders and scaffolds are inspected and used per manufacturer guidelines
Learn First Aid for Broken Bones with Work Readiness Center
At Work Readiness Center, our training covers how to recognize fractures and immobilize safely while awaiting medical care. You’ll learn to:
- Differentiate fracture signs from sprains and strains
- Apply improvised and commercial splints that immobilize the joints above and below the injury
- Perform and document CSM checks before and after splinting
- Use cold therapy and elevation to manage swelling and pain
- Decide when to call emergency services, including for open fractures or neurovascular deficits
Serving Cumming, GA and the greater Atlanta area—including Alpharetta, Duluth, Lawrenceville, Marietta, and beyond—we offer flexible scheduling, onsite group training, and immediate certification upon completion.
Ready to Master First Aid for Broken Bones?
Call 770-878-3175 or email workreadinesscenterinc@outlook.com to schedule your first aid class today. Our courses run 7 days a week, with blended learning options and hands-on skills sessions designed for real-world readiness.